Contributor Suzanne of BeBehBlog.com is here today with an AWESOME and super easy tutorial for creating gorgeous portraits in a simple, dark space- the garage!

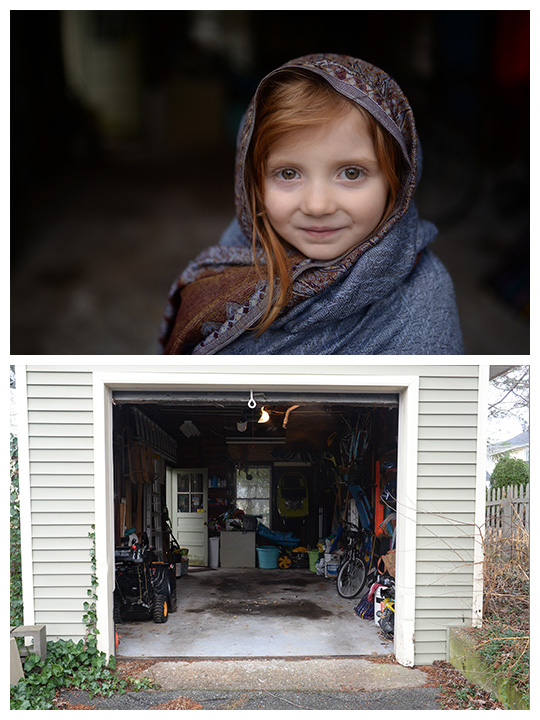
I took this photo as part of my 2015 365 Project, and it got rave reviews from my Facebook friends. My opinion is obviously biased, but I think my daughter makes a stunning photography subject so I wasn’t surprised she looked beautiful. I was a little surprised it got so much praise as an actual photograph though, since it was a quick 30 shot I got without leaving my yard or setting up anything special.
Someone told me it looked like it was taken in an enchanted forest. That’s funny, since this is where it was actually taken:

Garage light is a great, accessible source of directional light. When you’re trying to make a subject pop against a solid background but don’t have a blank wall or a seamless backdrop to use, head to the garage.
Because the frame of the open door blocks light from reaching very far into the space you can expose your photo for your subject’s face and will get a very dark background. The more overhead the sun is, the steeper the light drop off, so for once you’ll get great light in the middle of the day.
Let’s start with what my settings were for this photo:
Nikon D610 (Note from Jill, a Canon user, my settings would be the same!)
Sigma Art 35mm 1.4 lens
f 1.4
1/100
ISO 125
White Balance set using Kelvin, 5880
No matter what equipment you’re working with, the basics are the same. You’ll want to set your camera on manual mode so you can control as much of your shot as possible. It’s especially helpful to be able to choose your own focus point AND manually set exposure, since you don’t want to camera to try and expose for the shadows.
You want to shoot as wide open as your lens allows, which means the lowest possible f-stop number. If you have a 50mm lens that would be perfect for this. The kit lens than came with your DSLR might only go to 3.5 or 5.8, which means your background won’t be quite as blurry, but we’re hoping to get it dark enough that it won’t matter. A good trick for getting a blurry background with your kit lens is to zoom in as far as you can and then back up to compensate. You might have to stand farther back than I did with my 35mm, but it will help.
Hopefully you have a fairly willing subject for your photo, but kids have a hard time holding super still even under the best conditions so we don’t want our shutter speed (that 1/100 number) to get too slow. A good rule of thumb for clear photos is to keep the speed at least twice the length of your lens. It helps avoid both blur from your subject moving and blur from any tiny vibrations you cause by pushing the shutter button or holding up the camera.
You can adjust your ISO to get the fastest possible shutter speed, but since the goal is super sharp eyes I wouldn’t raise it too far or the photo will be noisy. On most basic DSLRs you don’t want to go higher than about 400. ISO is the least important part of this equation today, since we’re using nice, natural, available light and even on auto-ISO the camera shouldn’t need to raise it too high.
I set my white balance manually out of habit, but you can use auto, daylight or cloudy depending on the weather conditions. You just want it to look as natural as possible and auto usually does a great job in this sort of situation.

Now you have your f-stop wide open, your shutter speed, ISO and white balance set and you’re ready to shoot.
Position your subject just inside the garage and then back up until you have some space around them when you look through the viewfinder. It doesn’t have to be a lot of space, just enough that there’s something to make the subject stand out. Place your focus point right on your subject’s eye. If you’re shooting very wide open (1.4 or 1.8) try to make sure they’re completely straight on, or one eye will be in focus and the other won’t.
This is the part where I admit that I take a test shot, look at the back of my camera, and then adjust accordingly. The in-camera light meter can help you get your exposure right, but it’s just a starting place. If anything, you’ll want the meter to tell you you’re underexposing the shot a little bit – I think I was at just 1 notch under.
If your background is too light, try having your subject move closer to the edge of the garage. If your subject is too dark, you should slow down your shutter speed or raise your ISO to let in more light. If it’s too sunny and the light is shining right on your subject’s face, try later in the afternoon or even on a cloudy day (it was actually raining when I took my photo). If you have windows or doors in your garage, try to block any light coming from them.
That’s why my background isn’t fully black – I didn’t block the window in the back – but apparently it makes it look like a magical forest, so it was a good decision!
I’d love to see your garage light photos, so please share them here or on Facebook!
*****************
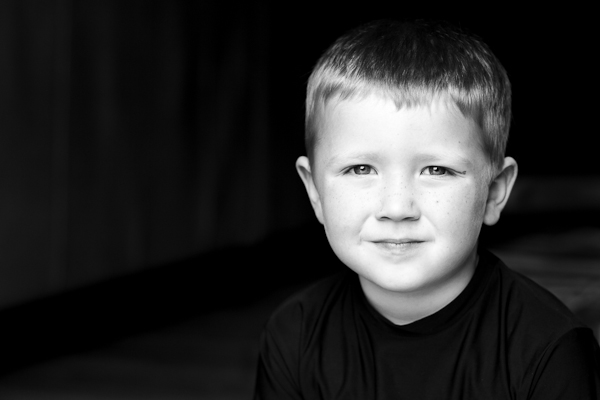
Suzanne inspired me, so I played around in the garage a bit with my beautiful nieces over the break after reading this and got these images.
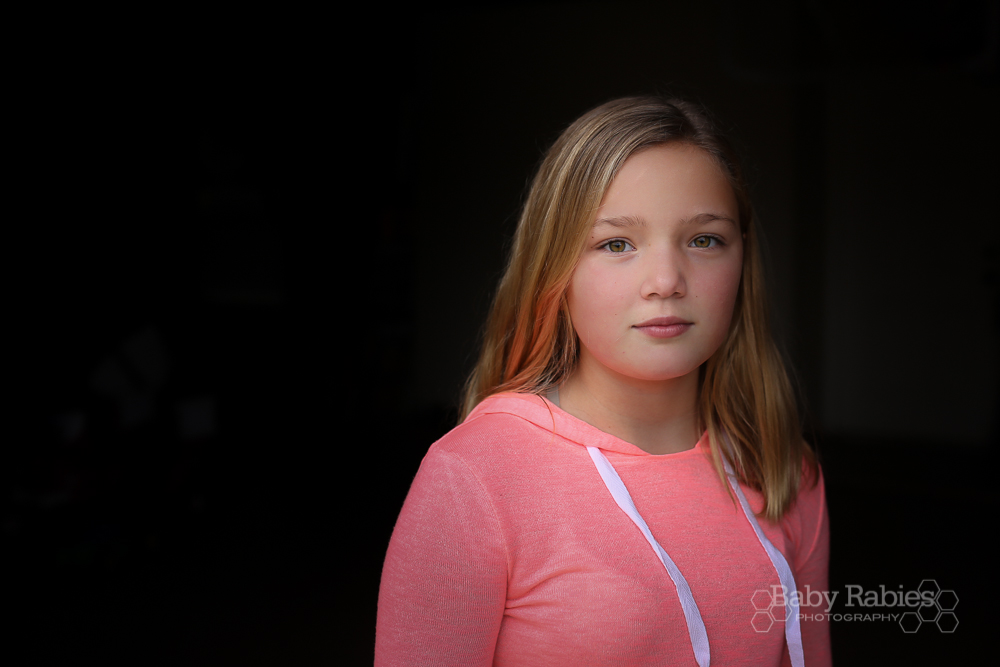

Don’t have a garage? You can achieve similar results in a doorway! Stand outside, place your subject just inside the door. Here’s one I took of Kendall years ago.
Pin it!



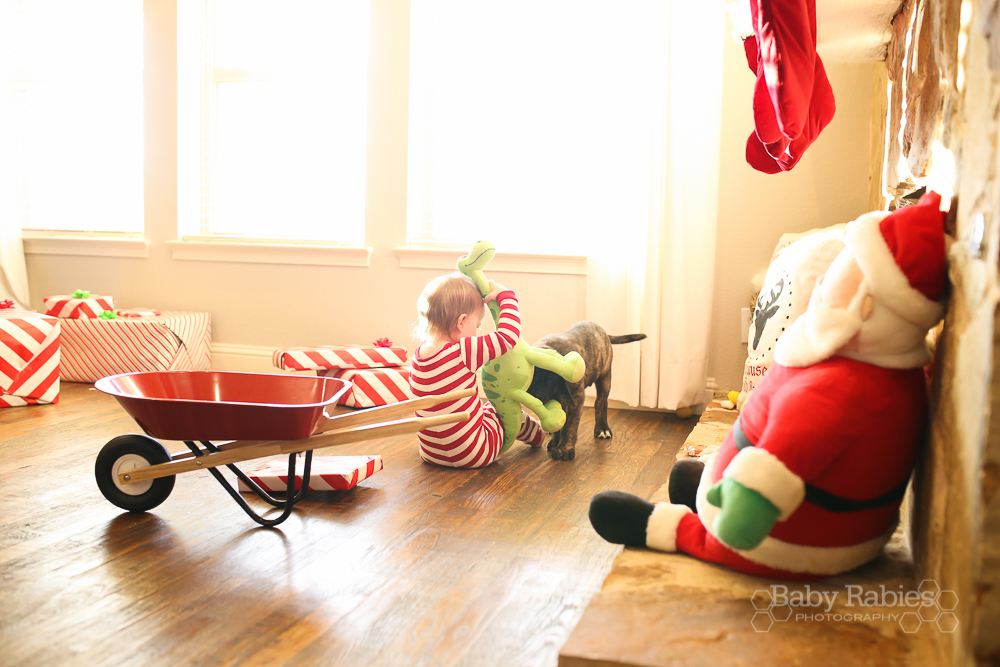













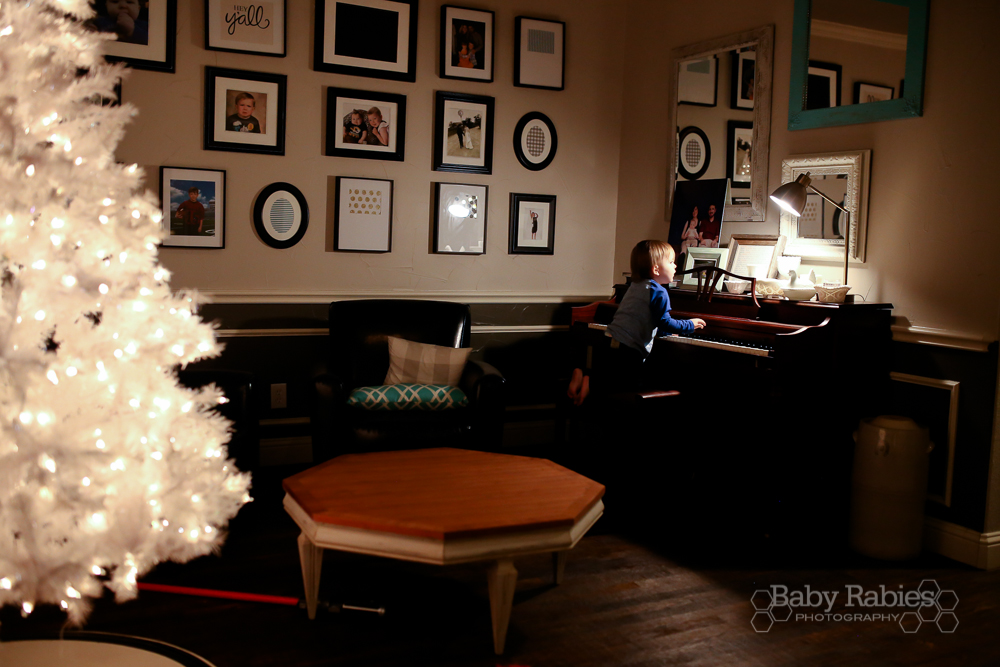




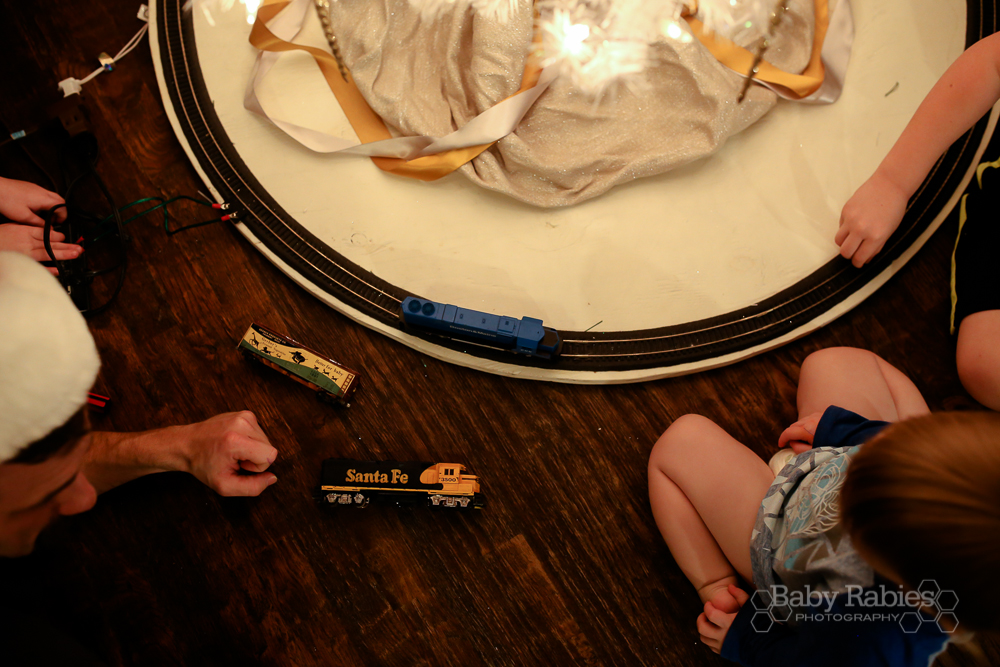


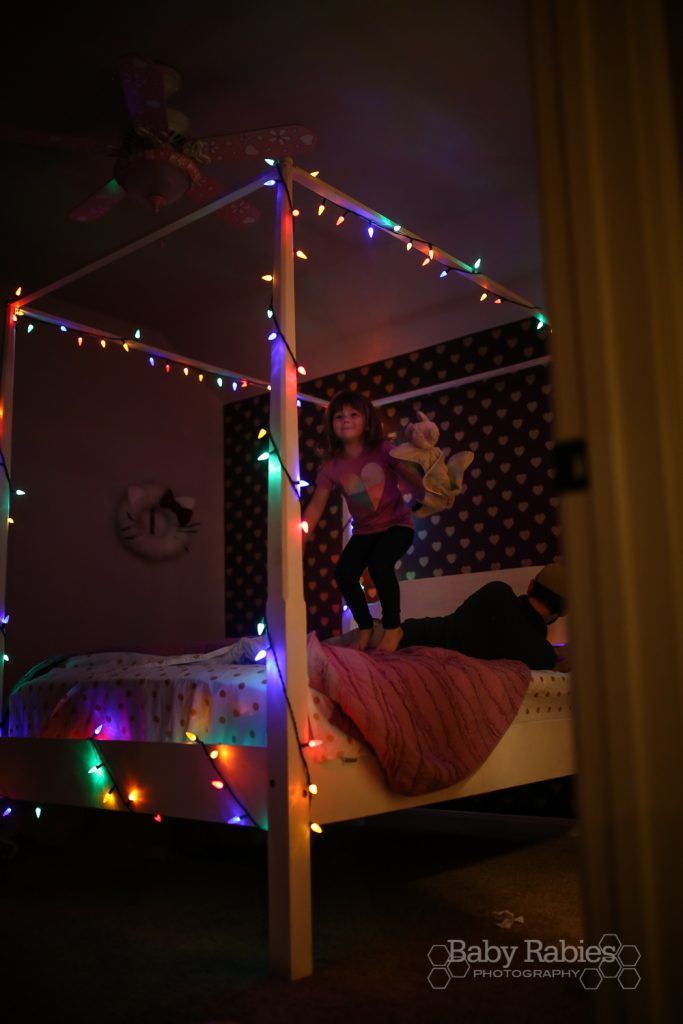
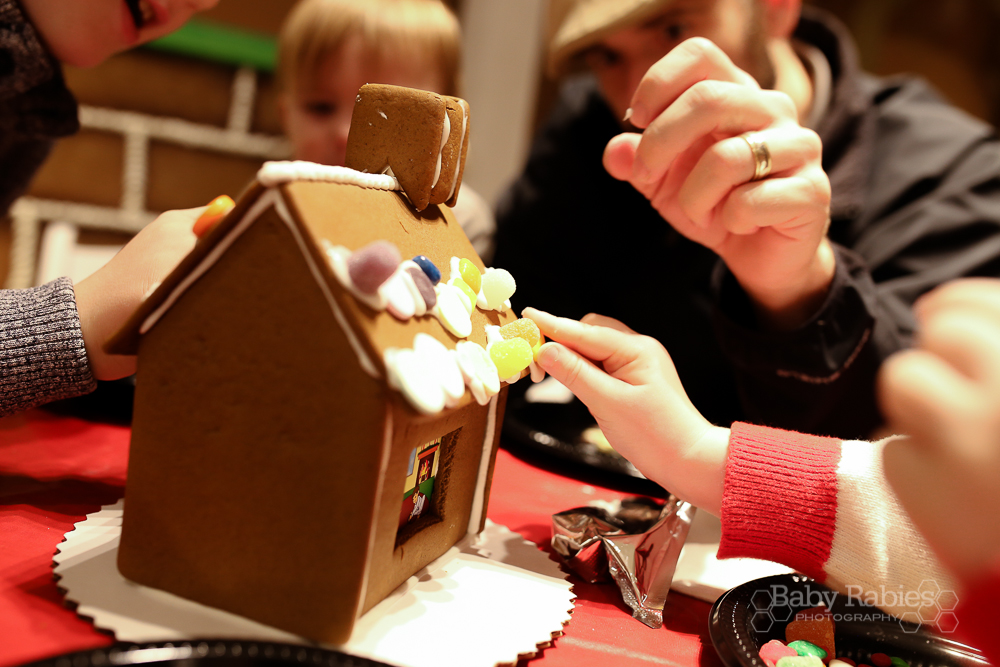









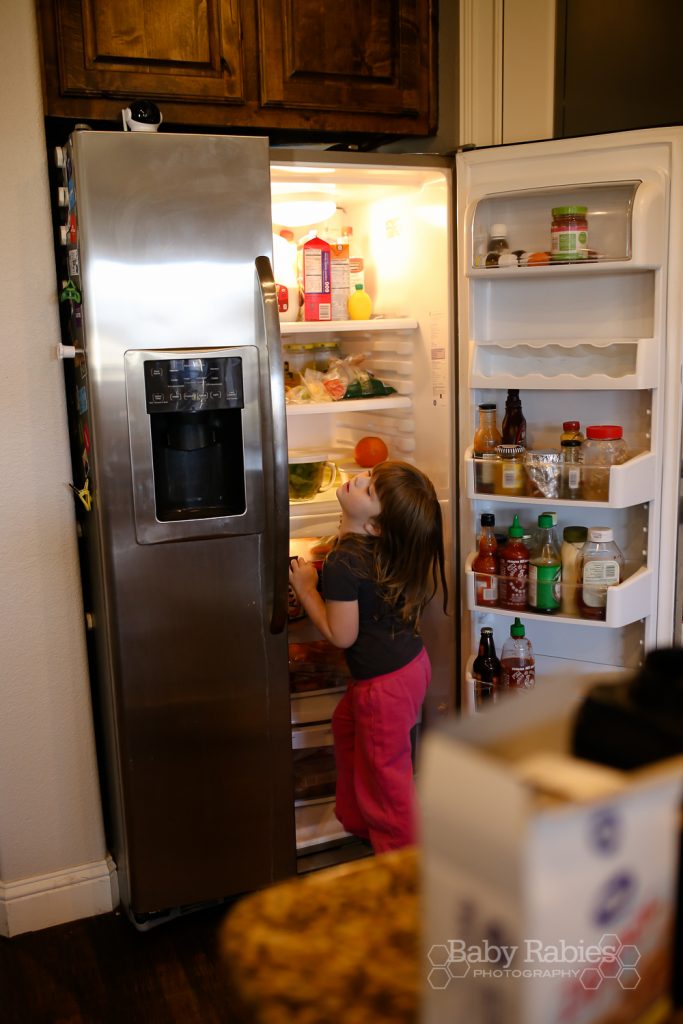


 But here? Today? I just want to just share my normal Thursday afternoon with you. We have cleaner and more organized days and, yes, we have messier and more chaotic days. This day just falls in between.






 So remember that year we made him an
 And then that night we basically fell back TWO hours after traveling home and setting our clocks back for DST.