
You know what’s an odd thing I’ve craved since having children? A Christmas tree of my own that will only have matching ornaments. Some of them even breakable! And none of them made from popsicle sticks and Elmer’s glue.
Listen, it’s not that I don’t love those little popsicle stick ornaments that my children lovingly paste together. I cherish them, I promise. I’m not heartless.
I couldn’t pass up the opportunity to get a 2nd tree for our new house, though, since we have the space… and there was a really great Black Friday sale. So this one is alllllll mine.
Since I have to start from scratch, my budget was really limited, and I couldn’t spend a lot on the tree skirt.
I also can’t find my sewing machine right now. So many boxes. So. Many. Unpacked. Boxes.
I did, however, find a lovely round table cloth at Target for $14, and I came up with a plan.

I bought some Fray Check, and 2 spools of coordinating satin ribbon (silver and gold for my new grown up tree theme).
Then I busted out the iron and my trusty glue gun.

Round table cloth
Fray Check
Ribbon of your choice
Glue gun
Iron
Flat surface to work (ironing board works fine)
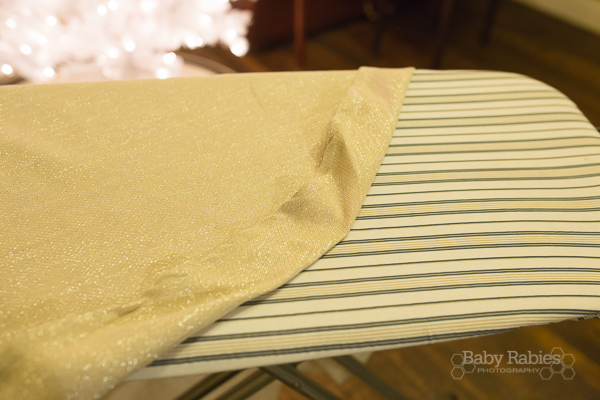
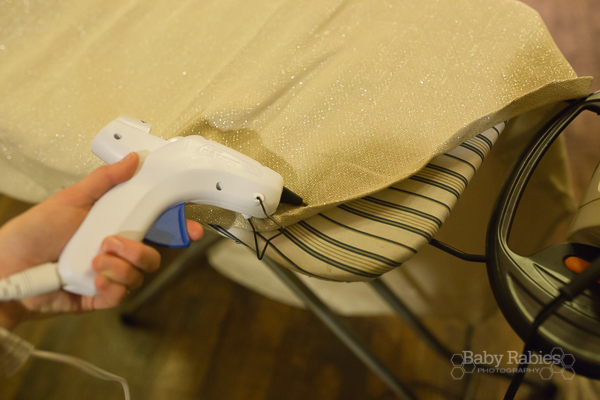
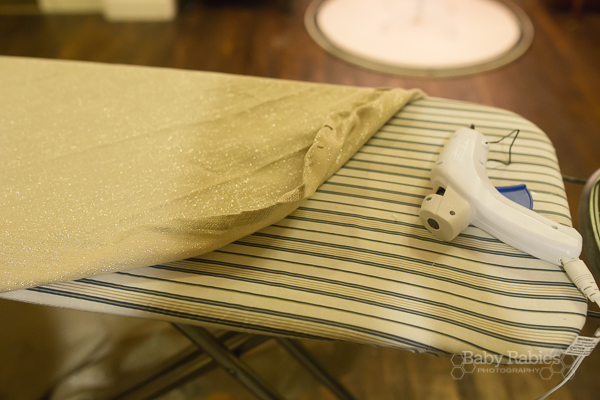
I started by laying the table cloth right side down on the ironing board, and folding a few inches in, then ironing a crease all the way around. This is simply going to help you when it comes time to glue it. Don’t worry if it doesn’t stay folded as you go. The crease line will still be there.
Then just run a bead of hot glue at the top of your table cloth and fold it over. I kept this a few inches deep so that I had plenty of space to work my ribbon through later. Since it’s round, you’ll have to make a sort of pleat every 8 inches or so. DON’T stress about keeping this perfect!

Don’t close it all the way up. Leave a small gap for now.
Cut a slit, about an inch tall, in the right facing side of the table cloth, near what will now be the top (by the crease). This is hard to describe. Check out the pic.
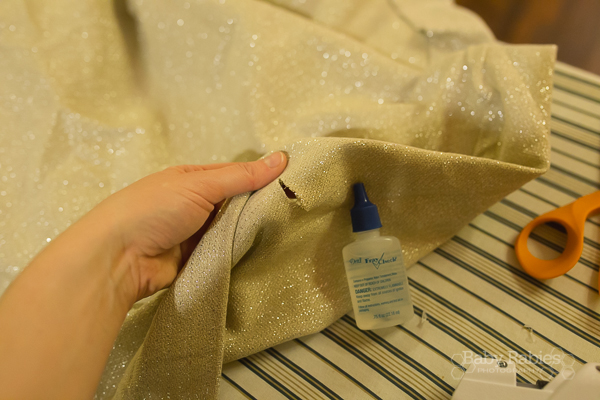
Make sure it doesn’t extend beyond where the hot glue will be on the back after you seal it up. Then apply the Fray Check to the edges and let sit for about 15 minutes. Don’t worry too much about this looking unfinished. The bow will completely cover it.
Tie a large knot at the end of your ribbon. This is what you’ll grab onto to help work it through the top of the table cloth. Since I used 2 ribbons, the knot was big enough. If your’s is too small, try pinning a large safety pin to the knot to give you something more to grab onto.

Slip it into the open part of the fold, and begin to work it around the inside of the hem. This will take a little while, be patient.
Once you get it all the way around, bring both ends of the ribbon(s) through the slit you cut. Then glue the rest of the hem shut.

Now, very gently, begin to cinch it up like a sack.

Place it under your tree, and continue to cinch it all the way up around it, finishing it off with a big bow. You can trim your bow ends if you’d like, but I loved the look of the trailing tails.

This isn’t a very big skirt, but we needed it to be smaller to accommodate the train tracks that my husband built.
If you’re looking for a bigger skirt, use a bigger table cloth. For reference, the one I used here was 70″.
Total cost for this project was about $20. Total time was about 40 minutes.

Available now: Amazon | Barnes & Noble
- 16Shares
2 comments
You should call this a Santa sack tree skirt. It looks like Santa just pulled a Christmas tree out of his sack. Very cute.
Oh it does!! I love that!